The Sourdough Starter Revival Protocol: Mastering the Art of Home Baking
Stop relying on store-bought yeast and cultivate your own wild yeast culture for bakery-quality bread at home.
Why Master the Sourdough Starter
Sourdough is not just a method of making bread; it is a biology experiment that rewards you with superior flavor, better digestion, and a shelf life that far exceeds commercial loaves. By utilizing wild yeast and lactic acid bacteria, you break down phytic acid in grains, making nutrients more bioavailable. This protocol turns your kitchen into a miniature bakery, offering a therapeutic rhythm that connects you to the ancient craft of fermentation.
Phase 1: Cultivating Your Starter from Scratch
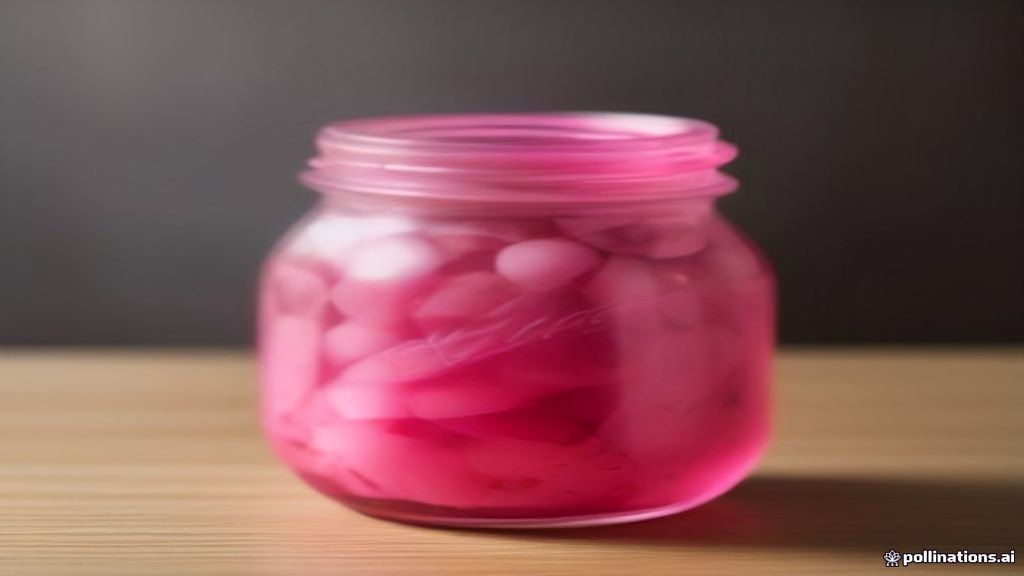
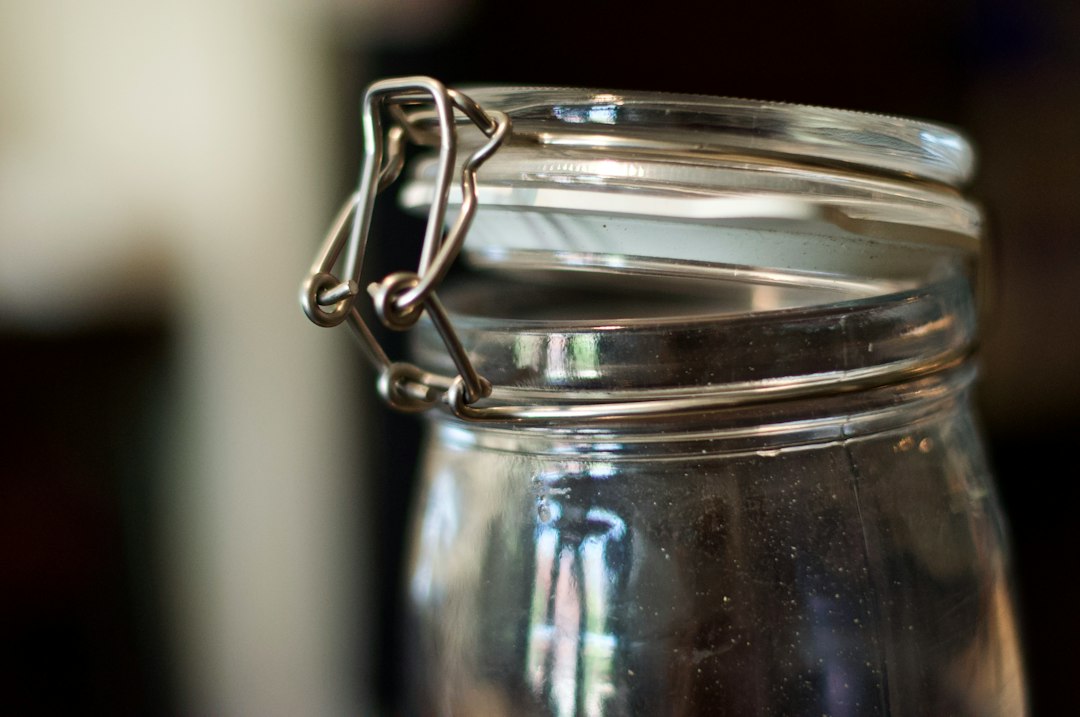
To begin, you need only two ingredients: high-quality whole wheat flour and filtered water. In a clean glass jar, mix 50g of flour with 50g of lukewarm water. Cover loosely and leave at room temperature (ideally 22-25 Celsius). Every 24 hours, discard half of the mixture and add 50g of fresh flour and 50g of water. Within 5 to 7 days, you will notice a predictable rise and fall and a pleasant, fruity, or tangy aroma. Your starter is ready when it consistently doubles in volume within 4-6 hours of feeding.
The secret to a robust starter is consistency in temperature and feeding times. Treat it like a pet, not a project.
Phase 2: Long-Term Maintenance and Storage
Once your starter is active, you don't need to feed it daily unless you are baking daily. Store it in the refrigerator with a loose-fitting lid. This puts the yeast into a dormant state, allowing you to go two weeks without intervention. When you are ready to bake, take it out, feed it a 1:2:2 ratio (starter:flour:water), and let it sit on the counter for 6-8 hours until it is bubbly and active. Always keep a backup portion in a separate container in the fridge to mitigate the risk of losing your culture to contamination.
Phase 3: Troubleshooting Common Failures
The most common mistake is using chlorinated tap water, which can inhibit wild yeast growth; always use filtered or boiled-and-cooled water. If you see a dark liquid on top (called 'hooch'), your starter is hungry—pour it off and increase your feeding frequency. If the starter smells like acetone or nail polish, it has been too long between feedings. Do not be discouraged; most starters can be 'revived' by discarding 80% of the volume and performing two consecutive feedings over 24 hours.
Phase 4: From Starter to Loaf
To bake, use 100g of your active, bubbly starter mixed with 350g of water and 500g of bread flour. Incorporate 10g of fine sea salt. Use the 'stretch and fold' method every 30 minutes for the first two hours to build gluten strength. After a bulk fermentation of 4-6 hours, shape the dough and let it proof for another 2 hours. Bake in a preheated Dutch oven at 230 degrees Celsius for 20 minutes with the lid on to trap steam, then 20 minutes without the lid to develop a deep, caramelized crust. Let the bread cool for at least two hours before slicing to allow the crumb structure to set properly.
By following this protocol, you move beyond the uncertainty of recipes and into the realm of understanding fermentation. Each loaf is a lesson in patience and observation, turning humble ingredients into a centerpiece of your nutritional and culinary life.