The Art of Home Fermentation: A Practical Guide to Cultured Vegetables
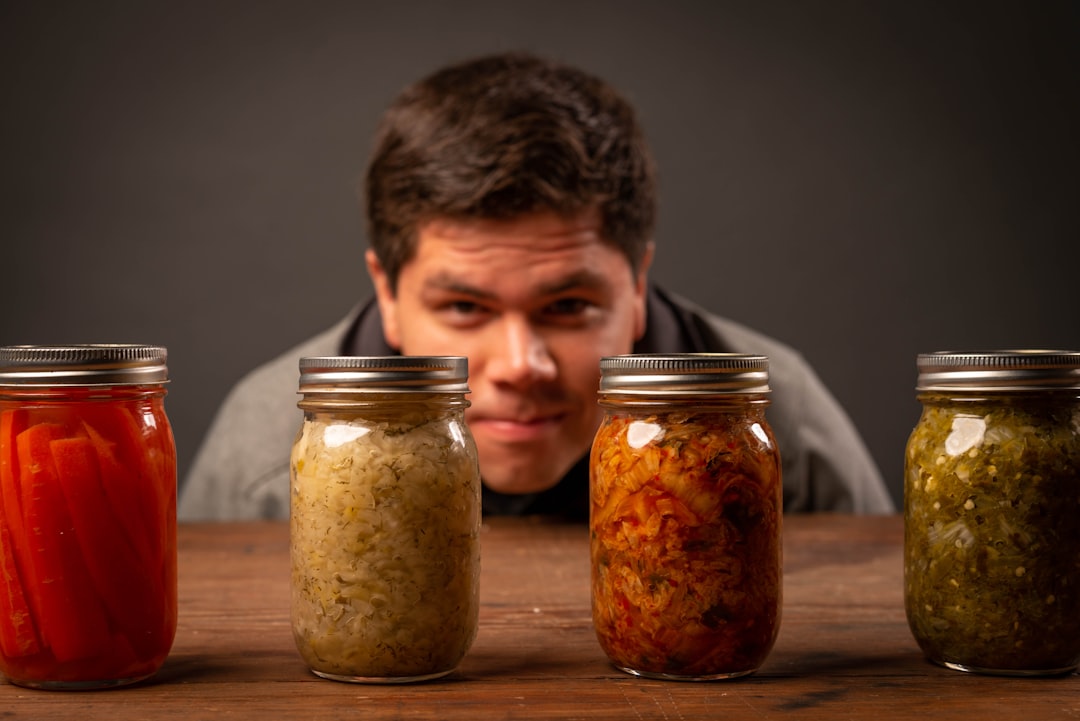
Why Ferment Your Own Vegetables
Lacto-fermentation is a transformative culinary practice that turns humble vegetables into probiotic-rich powerhouses. Unlike canning, which uses heat to kill bacteria, fermentation encourages the growth of beneficial lactic acid bacteria. These microbes not only preserve the food but also improve digestion and boost your immune system. By mastering this, you gain control over the quality of your food, avoiding the additives and excess sodium found in store-bought versions.
The Essential Toolkit
You do not need an expensive laboratory to get started. The barrier to entry is remarkably low. The most critical component is salt, which regulates the fermentation process by inhibiting harmful bacteria while allowing the good ones to thrive. Always choose sea salt or kosher salt; avoid iodized table salt, as the added iodine can interfere with the fermentation process.
- Wide-mouth glass jars (mason jars work best)
- A digital kitchen scale for precision
- A clean muddler or just your hands for massaging vegetables
- Weight to keep vegetables submerged (glass weights or a small ceramic plate)
Fermentation is not a rigid science but a dynamic dance with nature. Let your senses guide you, but keep the salt ratios consistent.
Step-by-Step Instructions
For your first batch, start with classic sauerkraut. Finely shred your cabbage and weigh it. Add salt at a ratio of 2% of the total vegetable weight—this translates to 20 grams of salt for every 1 kilogram of cabbage. Massage the salt into the cabbage until a significant amount of brine is released. Pack the cabbage tightly into your jar, pushing down firmly to remove air pockets, ensuring the brine completely covers the vegetables.
- Clean all equipment thoroughly to avoid introducing unwanted bacteria.
- Weigh your vegetables and calculate the salt ratio precisely.
- Massage the vegetables for 5-10 minutes until they feel soft and release liquid.
- Pack them into the jar, ensuring the brine sits at least an inch above the vegetables.
- Place a weight on top to keep the solids submerged.
- Leave the jar at room temperature (around 68-72°F) for 5 to 10 days, tasting regularly.
Common Pitfalls and How to Avoid Them
The most frequent issue is mold, which almost always occurs because a piece of vegetable was exposed to oxygen. If you see a thin, white, cloudy film on the surface, this is often just Kahm yeast, which is harmless and can be skimmed off. However, if you see fuzzy, colored mold (green, black, or pink), the batch should be discarded. Keep the jar in a cool, dark place away from direct sunlight to ensure consistent fermentation.
As you gain confidence, you can experiment with adding aromatics like caraway seeds, garlic, ginger, or chili flakes. Once you start incorporating fermented foods into your daily routine, you will notice not only a difference in your digestion but also in the vibrancy of the meals you prepare. Enjoy the process of creating your own living pantry.