The Home Fermentation Salt Ratio Protocol: A Precision Guide
Why Precision Matters in Fermentation
Home fermentation is more than a trendy hobby; it is a profound way to transform basic produce into nutrient-dense superfoods. However, many beginners are deterred by the fear of mold or spoilage. The secret to success lies in the salt ratio. Salt creates a selective environment that suppresses pathogenic bacteria and encourages the growth of beneficial lactic acid bacteria. Without the right balance, your fermentation project can either fail to develop or become a breeding ground for unwanted organisms.
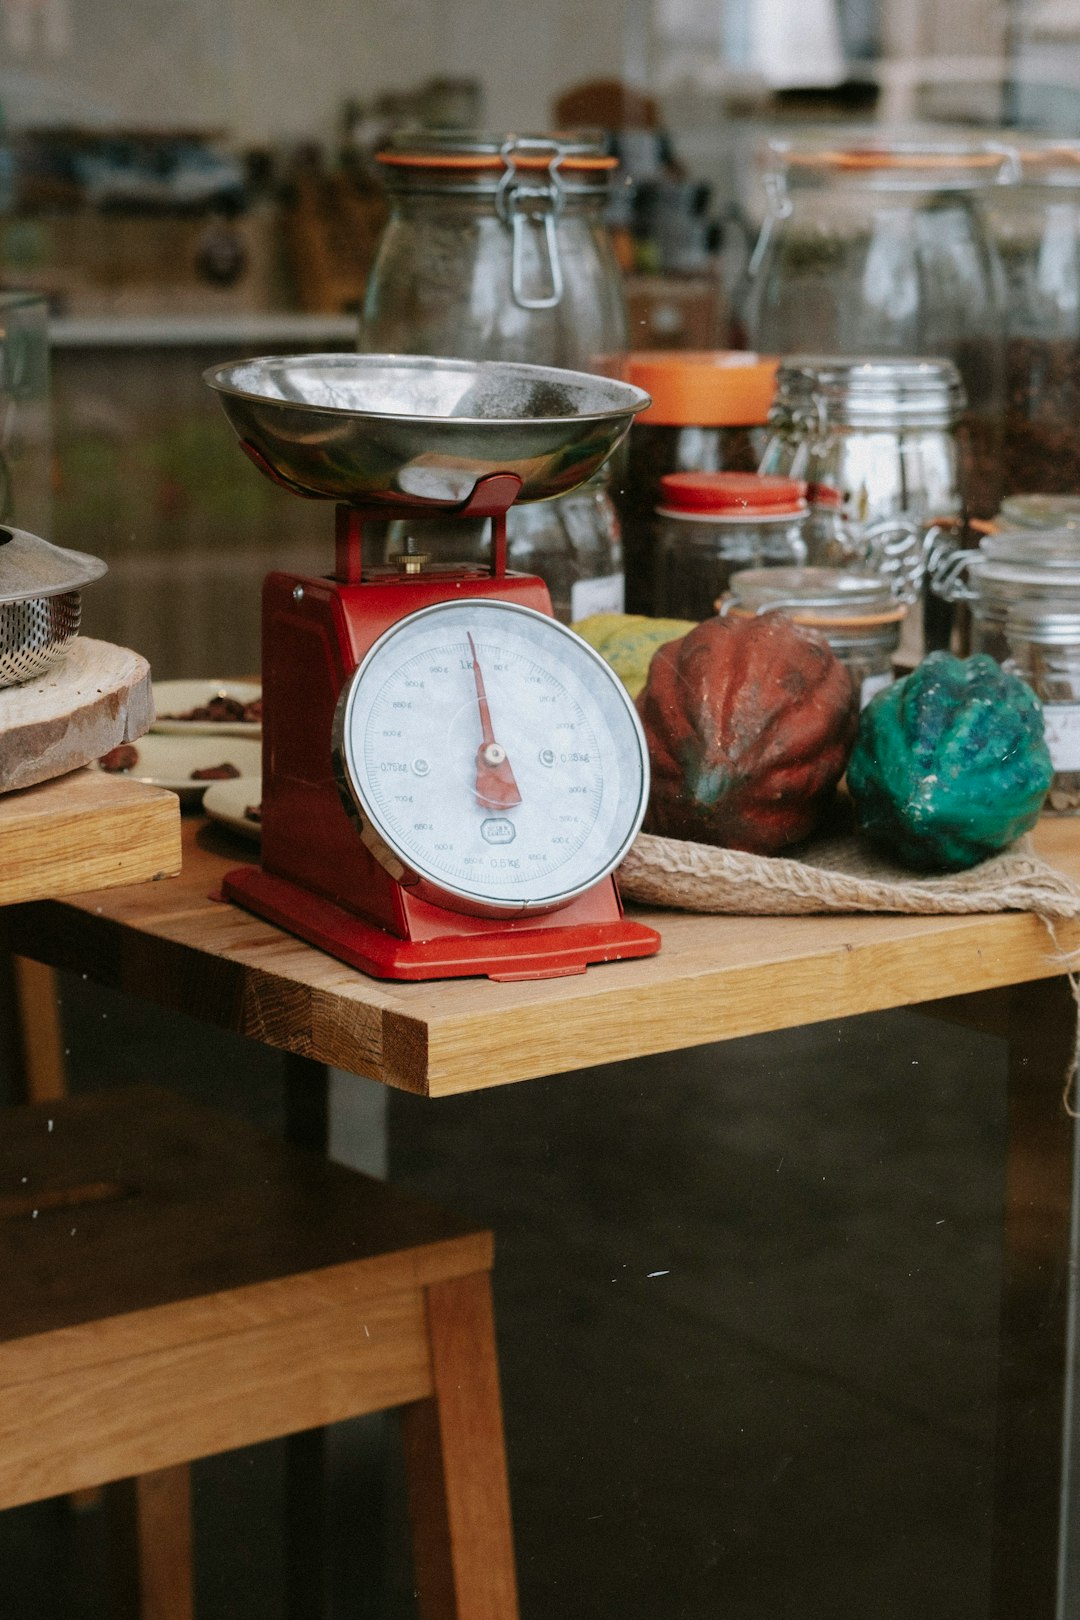
To ferment vegetables effectively, you are aiming for a salt concentration between 2% and 3% of the total weight of the vegetables and the water used. Working by volume (like measuring tablespoons) is notoriously inaccurate because salt crystal sizes vary wildly. Using a digital kitchen scale is not just a suggestion; it is the cornerstone of a safe, consistent fermentation practice.
Step 1: The 2% Calculation Rule
The golden rule for most vegetable ferments is to aim for a 2% salinity by weight. This is enough to keep your vegetables crisp and safe while allowing the fermentation process to occur at a steady, manageable pace.
- Place your clean fermentation jar on a digital scale and tare it to zero.
- Add your prepared vegetables (chopped cabbage, carrots, or radishes).
- Add filtered water until the vegetables are submerged and note the total weight in grams.
- Multiply the total weight by 0.02 to get your required salt weight in grams.
- Add that specific amount of salt and stir well to dissolve.
Salt does more than provide flavor; it draws water out of the vegetables to create the brine, acts as a preservative, and firms the cell walls of the produce to ensure a satisfying crunch.
Step 2: Choosing the Right Salt
Not all salts are created equal in the fermentation world. Avoid iodized table salt at all costs. The iodine and the anti-caking agents found in standard table salt can inhibit the very bacteria you are trying to cultivate and may result in an unappealing, cloudy brine or off-flavors. Opt for high-quality sea salt, Himalayan salt, or kosher salt. The only ingredient listed on the package should be 'salt'.
Step 3: Maintaining the Submergence Protocol
Once you have achieved your 2% brine, the most critical phase begins: maintenance. Any vegetable matter exposed to air will invite mold. Your goal is to keep the produce fully submerged beneath the brine at all times. Use glass fermentation weights, a heavy cabbage leaf placed on top, or a food-grade silicone follower to keep the solids down. If you do not have specialized gear, a small glass jar filled with water can act as a DIY weight.
Common Pitfalls and Troubleshooting
- Avoid using chlorinated tap water; the chlorine can kill the beneficial bacteria needed for the ferment. Use filtered or spring water instead.
- Do not over-salt. Anything above 5% will significantly stall the fermentation process, leading to a very slow and potentially flavorless result.
- Keep temperatures stable. A range of 65°F to 72°F (18°C–22°C) is ideal for most ferments. Heat spikes can cause the ferment to happen too quickly, resulting in mushy vegetables.
By treating fermentation as a precise, scientific protocol rather than an intuitive guessing game, you remove the guesswork and the risk of failure. Start small with a basic batch of sauerkraut or salt-brined pickles. Once you understand how these ratios work, you can begin experimenting with spices, herbs, and different vegetable combinations. Fermentation is a patient art, and with this protocol, you will consistently produce vibrant, healthy, and delicious results.