Mastering the Art of Zine-Making: A Creative Guide
Unlock the power of DIY publishing by creating your own zine—a unique, handheld publication that shares your voice, art, or ideas with the world.
What is a Zine and Why Create One?
A zine is a small-circulation, self-published booklet that allows you to express your thoughts, art, or interests without the gatekeeping of traditional publishers. It is the purest form of creative freedom, where you dictate the theme, the layout, and the audience. Zines have a rich history, rooted in 1930s science fiction fan culture and evolving through the punk movement into the contemporary independent art scene. Creating a zine is not just a hobby; it is a profound act of self-expression.
The beauty of zine-making lies in its accessibility. You do not need expensive software or a professional printing press. Whether you want to document your favorite local coffee shops, compile a series of experimental poems, or share a tutorial on urban gardening, a zine provides a tangible vessel for your ideas. It is a physical object in an increasingly digital world, creating a connection between you and your reader that a social media post simply cannot replicate.
Step 1: Choosing Your Theme and Content
Every great zine starts with a clear, focused concept. Because a standard zine is often short—ranging from 8 to 24 pages—you should aim for a specific focus rather than a broad topic. A good rule of thumb is to create a 'mini-zine' from a single sheet of paper, which folds into an 8-page booklet. This format is non-intimidating and forces you to be concise.
- Select a single theme: Keep it narrow to ensure impact.
- Gather your materials: Write text, take photos, create collages, or use sketches.
- Draft a layout: Sketch your page order on a piece of scratch paper before committing to the final layout.
The beauty of a zine is not found in perfection, but in the raw, authentic voice of the creator. Do not fear imperfections; they add character.
Step 2: Design and Assembly
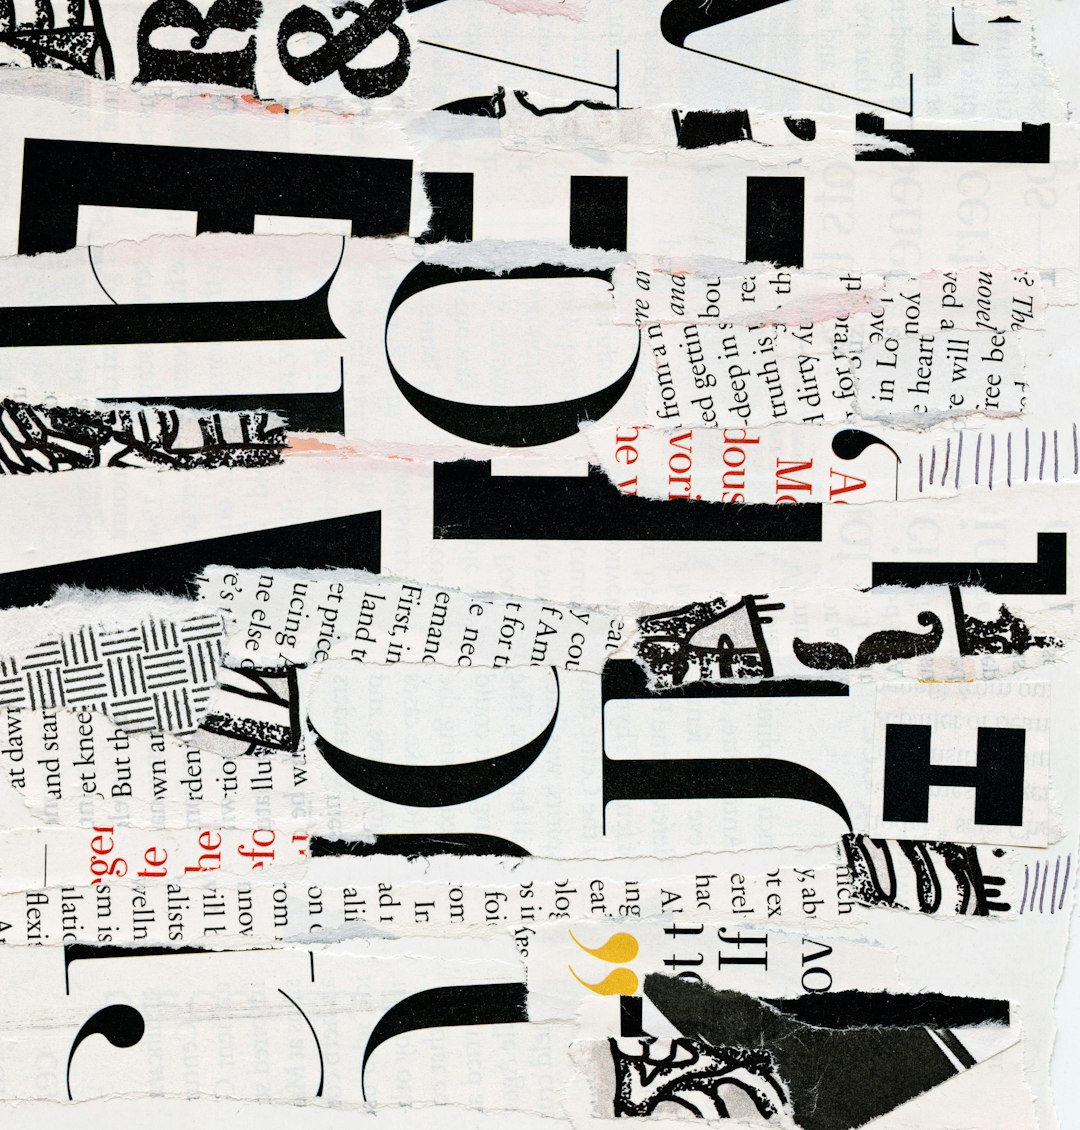
Once your content is ready, it is time to arrange it. You can use digital tools like Canva or InDesign for a polished look, or go the 'cut-and-paste' route, which involves physically gluing images and text onto a master sheet. The tactile, analog approach often yields the most charm and personal connection. If you are creating a one-page folded zine, remember that the page order can be confusing; always fold a test sheet first to label your pages correctly.
Experiment with visual hierarchy. Use bold headings, varied font sizes (if using a computer), or hand-lettering to guide the reader’s eye. If you are using physical materials, consider the texture of the paper—collage works well on thicker cardstock, while simple ink sketches shine on standard printer paper.
Step 3: Printing and Distribution
After your master copy is complete, it is time to reproduce it. A standard home printer or a local copy shop machine is sufficient. Experiment with different paper stocks or ink colors to change the mood of the zine. Once printed, fold, cut, and bind your copies using staples, thread, or just a simple fold.
Distribution is the final, most rewarding step. Leave your zines in local independent bookstores, coffee shops, or trade them with friends. The goal is not a mass-market circulation, but meaningful connection. By creating a zine, you transform from a passive consumer of media into an active producer, contributing your unique perspective to a long tradition of grassroots communication.
Starting your first zine is an invitation to explore your creativity without boundaries. Whether you make one copy or one hundred, the process of distilling your thoughts into a physical format is a deeply satisfying creative exercise. Just start—the world is waiting for your voice.