The Seasonal Textile Transition Protocol: Streamlining Your Wardrobe Rotation
Stop dreading the biannual closet upheaval. Learn a methodical, low-stress system for transitioning your wardrobe between seasons to save space and sanity.
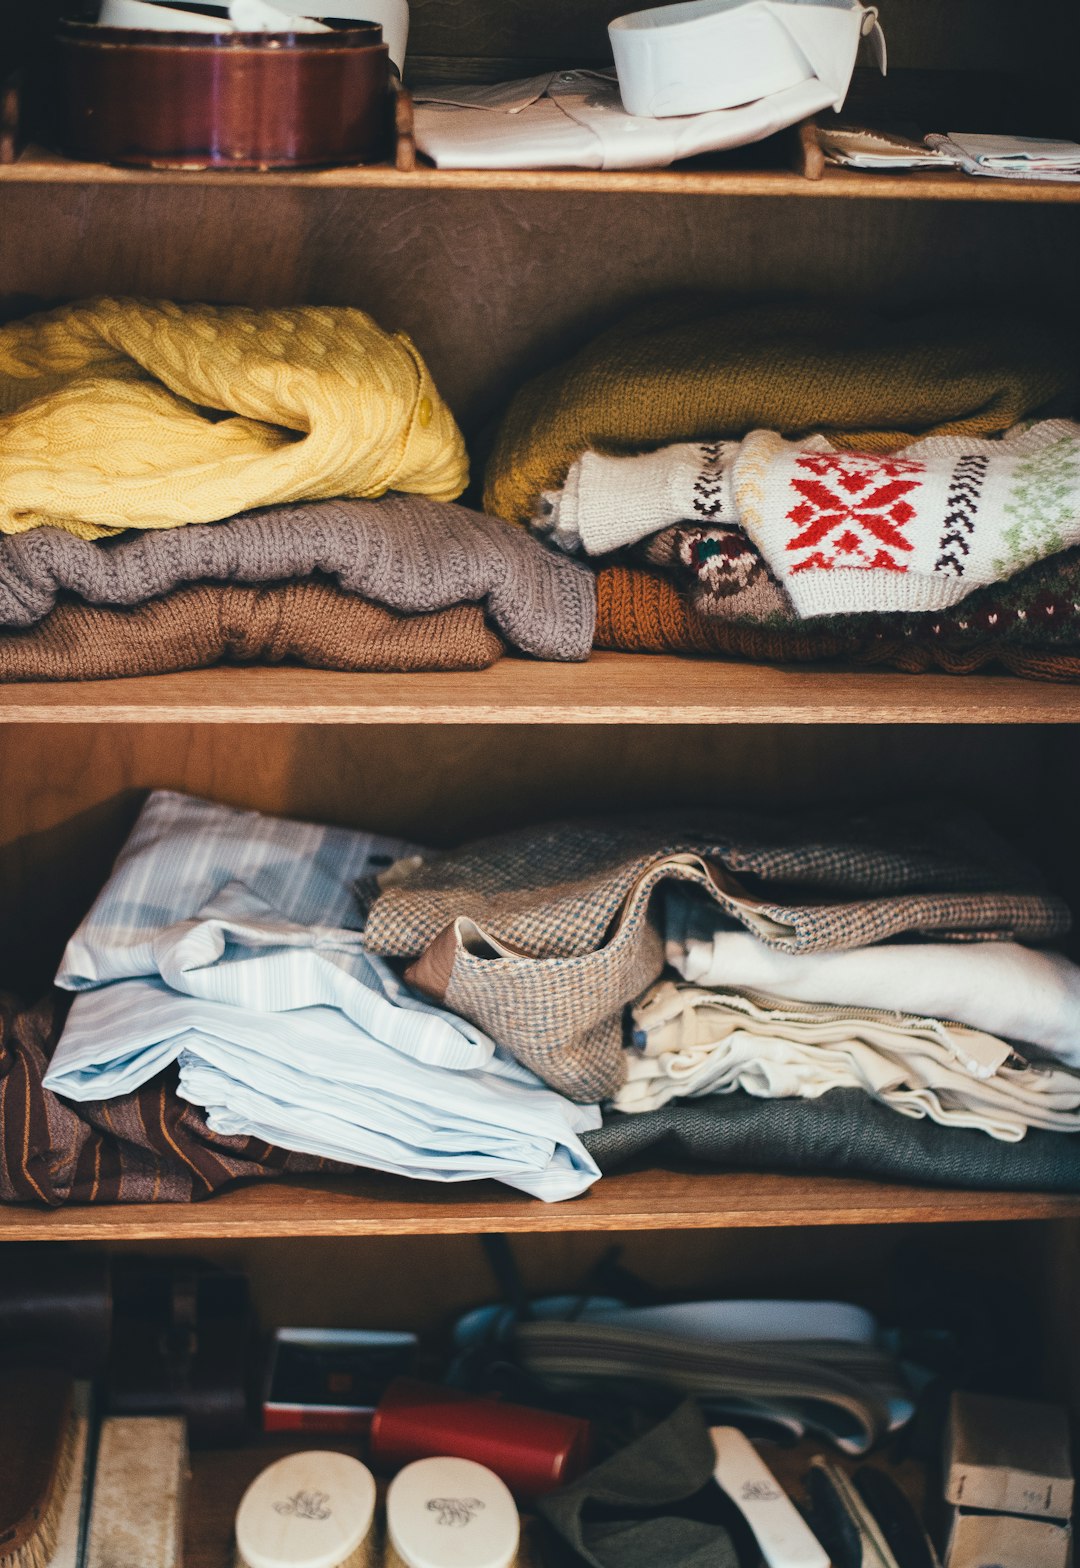
Why Your Closet Feels Like a Battlefield
Most of us treat seasonal wardrobe changes as a chaotic weekend-long chore, dragging heavy bins from the attic and frantically shoving summer clothes into boxes. This approach leads to lost items, moldy sweaters, and the inevitable frustration of wearing the wrong clothing when the first cold snap hits. The Seasonal Textile Transition Protocol is designed to transform this task from a dreaded event into a streamlined, hour-long operation. By treating your textiles as a curated archive rather than a heap of laundry, you regain physical space and mental clarity.
Phase 1: The Tactical Cull and Clean
Never store clothes that haven't been cleaned. Even if a shirt looks pristine, microscopic skin cells and sweat can attract moths and cause yellowing over six months of storage. Before you commit a garment to the off-season bin, inspect it for stains, loose buttons, or thinning fabric. If you haven't worn a piece in two consecutive seasons, it belongs in a donation pile, not a storage container. This is your primary defense against clutter creep.
The secret to a clutter-free home isn't more storage; it's less inventory. Every item you store away should be an item you are genuinely excited to rediscover in six months.
Phase 2: Categorization and Preservation
Invest in clear, airtight containers rather than cardboard boxes, which are magnets for silverfish and humidity. If you are using vacuum-seal bags, be careful with natural fibers like wool and cashmere, which need to breathe to maintain their shape and loft. Organize your bins by function: 'Activewear,' 'Heavy Outerwear,' 'Light Layers,' and 'Formal/Seasonal Accessories.' Label every bin with a piece of painters tape and a sharpie so you can see the contents without opening the lid.
- Use cedar balls or lavender sachets to deter pests naturally.
- Place heavier items at the bottom of the bin to prevent crushing delicate fabrics.
- Store shoes in breathable fabric bags, never plastic, to prevent dry rot or fungal growth.
- Keep a small 'transition kit'—a box with 3-4 versatile pieces that can bridge the gap between seasons.
Phase 3: The Vertical Staging Technique
When swapping your wardrobe, utilize the 'Vertical Staging' method. Instead of pulling everything out at once, move your current season to the prime eye-level hanging space, while the off-season items move to the highest shelves or under-bed storage. This keeps your daily routine frictionless. If your closet is small, prioritize the items you use 80% of the time. The remaining 20% should be packed away, allowing your everyday clothes to breathe and reducing the likelihood of wrinkles.
Common Pitfalls to Avoid
One common mistake is trying to do the entire swap in a single, exhausting session. Break the protocol into zones: shoes one day, outerwear the next, and folded items in the middle. Another error is failing to account for 'transitional weather.' Always keep a lightweight shell or a medium-weight cardigan accessible year-round, regardless of the season. Finally, do not use mothballs, as their chemical scent is notoriously difficult to remove from textiles and they can be harmful to pets and children.
Maintaining the Momentum
Once you have finished your rotation, take five minutes to update your digital inventory or simply make a note of what you didn't reach for this year. This data is invaluable for future shopping trips, preventing you from buying duplicates of items you already own. By treating your clothing rotation as a logistical flow rather than a chore, you ensure that your wardrobe serves your life, rather than the other way around. You will find that when the seasons shift, you are ready to pivot with ease.